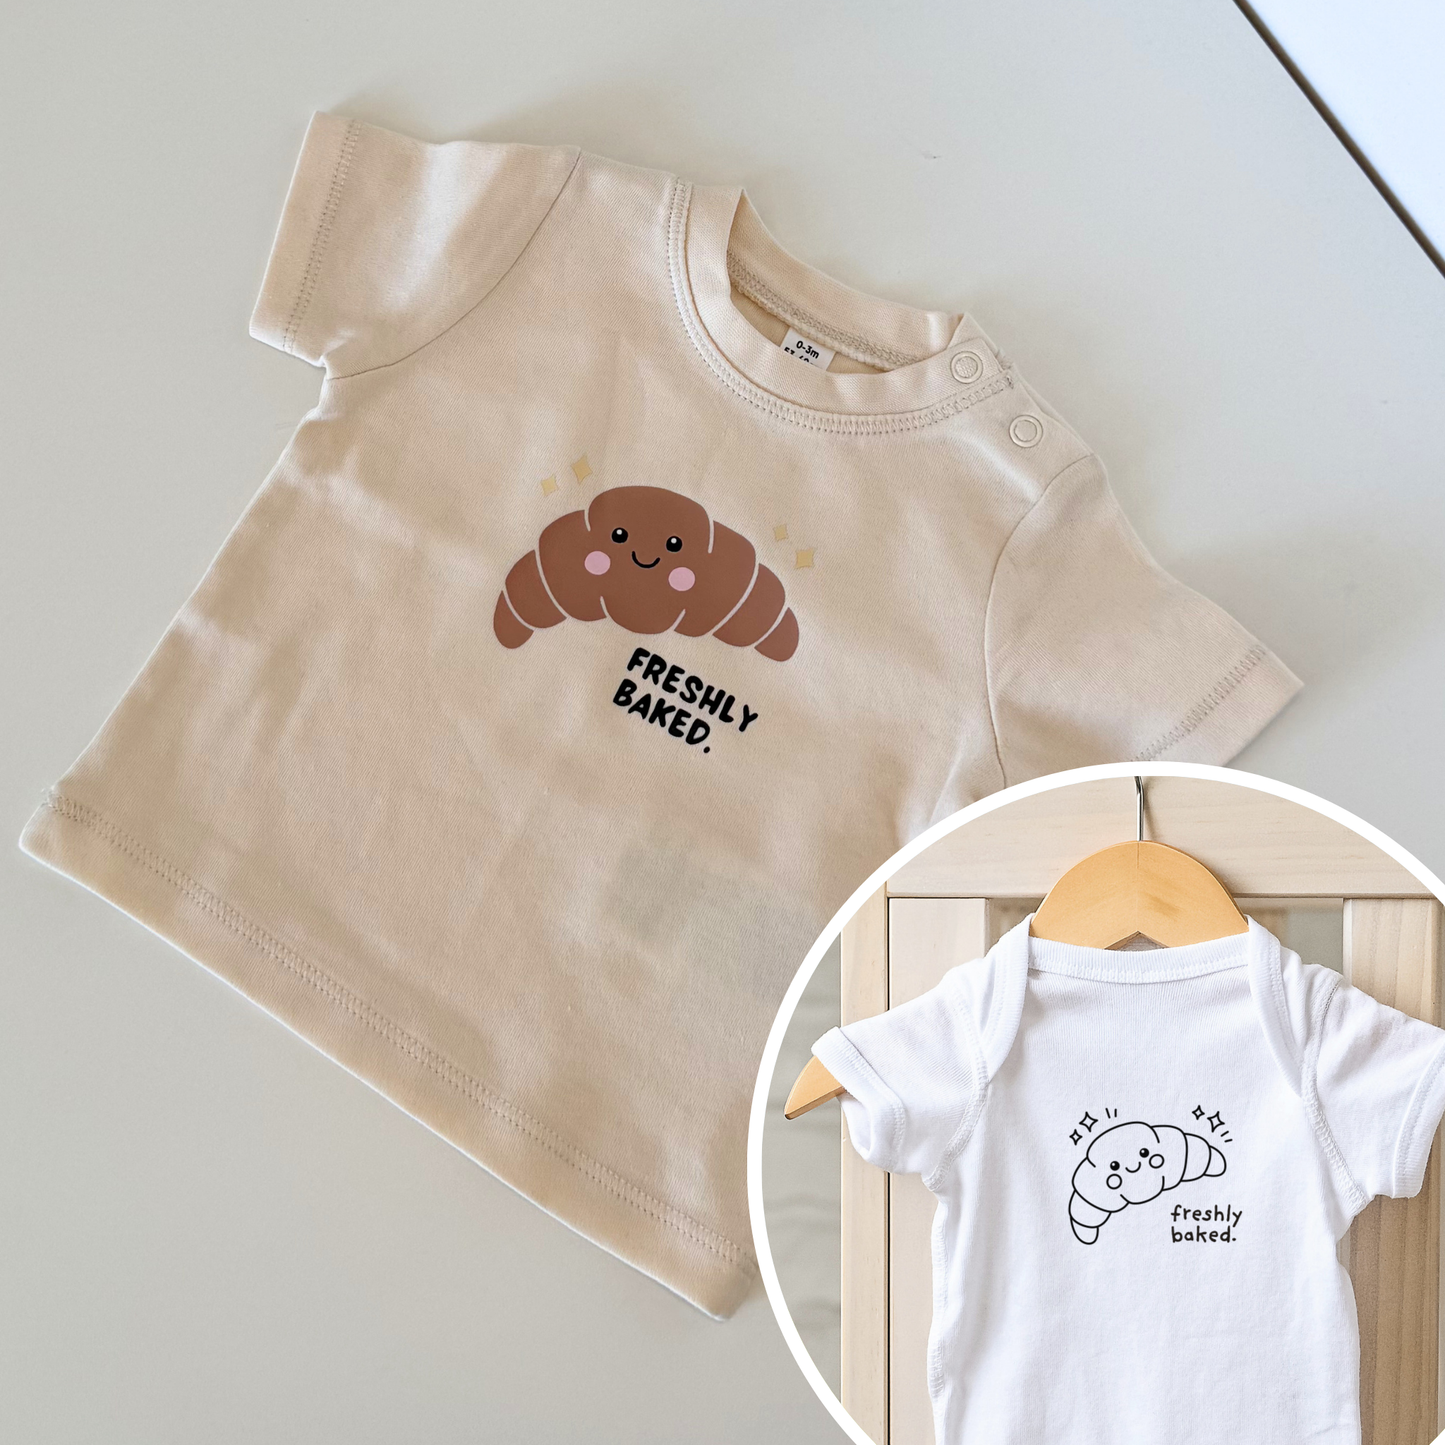
Multi-color plotting for absolute beginners – explained step by step

Multi-color plotting often seems much more complicated at first than it actually is.
Yet with a few simple tricks, you can create really cool multi-layered designs — even as an absolute beginner 😊

Für das Mehrfarbige plotten die Grafik vorbereiten

instructions

Prepare graphic

First, I prepare my graphic.
I mirror the design, break the individual elements apart, and sort everything by color.

Ich schneide mir alle Folien die ich brauche zurecht

instructions

Plotting

After that, each color is cut out individually from the appropriate foil.
I always make sure that only the elements that have the same color are plotted together.
This makes it much easier to keep track when multi-color plotting and makes the subsequent ironing process much more relaxed.

Als nächsteswerden alle Folien Schnipsel entgittert

instructions

Weeding

As soon as everything is plotted, I weed all the individual vinyl sheets and lay everything out side by side.

Alle Farben übereinander bringen damit das Moiv so aussieht wie final gewünscht

instructions

Prepare layers

Now I'm first positioning all the layers on top of each other, the way the final design should look later on. Cute, right?

Alle Ebenen übereinander aufbügeln

instructions

Ironing on

I always start with the bottom layer and first remove everything that lies above it.

My most important tip for multi-layer plotting: Initially press the individual layers for only about 5 seconds. Especially with many levels, the vinyl can otherwise get too hot and melt unpleasantly.

That is why I am now working my way through all the levels step by step.

So sieht es final aus, mehrfarbig plotten ist einfacher als man denkt.

instructions

Result

And when everything is finished, I press the entire design again for the full recommended time.

Et voilà - that's how easy multi-colored plotting can look 😍

Watch the complete video tutorial👇🏼

Multi-colored plotting often seems complicated at first, but with a few little tricks, it becomes really easy.

My most important tip: Never press the individual layers for the full recommended time right from the start.
Especially with several layers, the vinyl can quickly get too hot and melt or bleed unattractively. That's why I only press each layer for about 5 seconds at first, peel off the carrier sheet, and work my way through the design step by step.
Only when everything is positioned correctly do I press the complete design again for the final recommended time 💘

THE PRODUCT BEHIND THE LOOK 👇🏼

For the vinyl, I used "EasyWeed Flex" by Siser; it is great for ironing on in multiple layers.

Colors Croissant: cappuccino, soft pink, cream, black, white

Colors Donut: cappuccino, soft pink, pink, sage, neon pink, cream, black, white

Colors Cinnamon Roll: cappuccino, soft pink, cream, black, pearl

And if you would like to save a little when ordering the vinyl: you can get a 10% discount with my discount code "Vici10".

*Advertising, affiliate link