Apply stickers
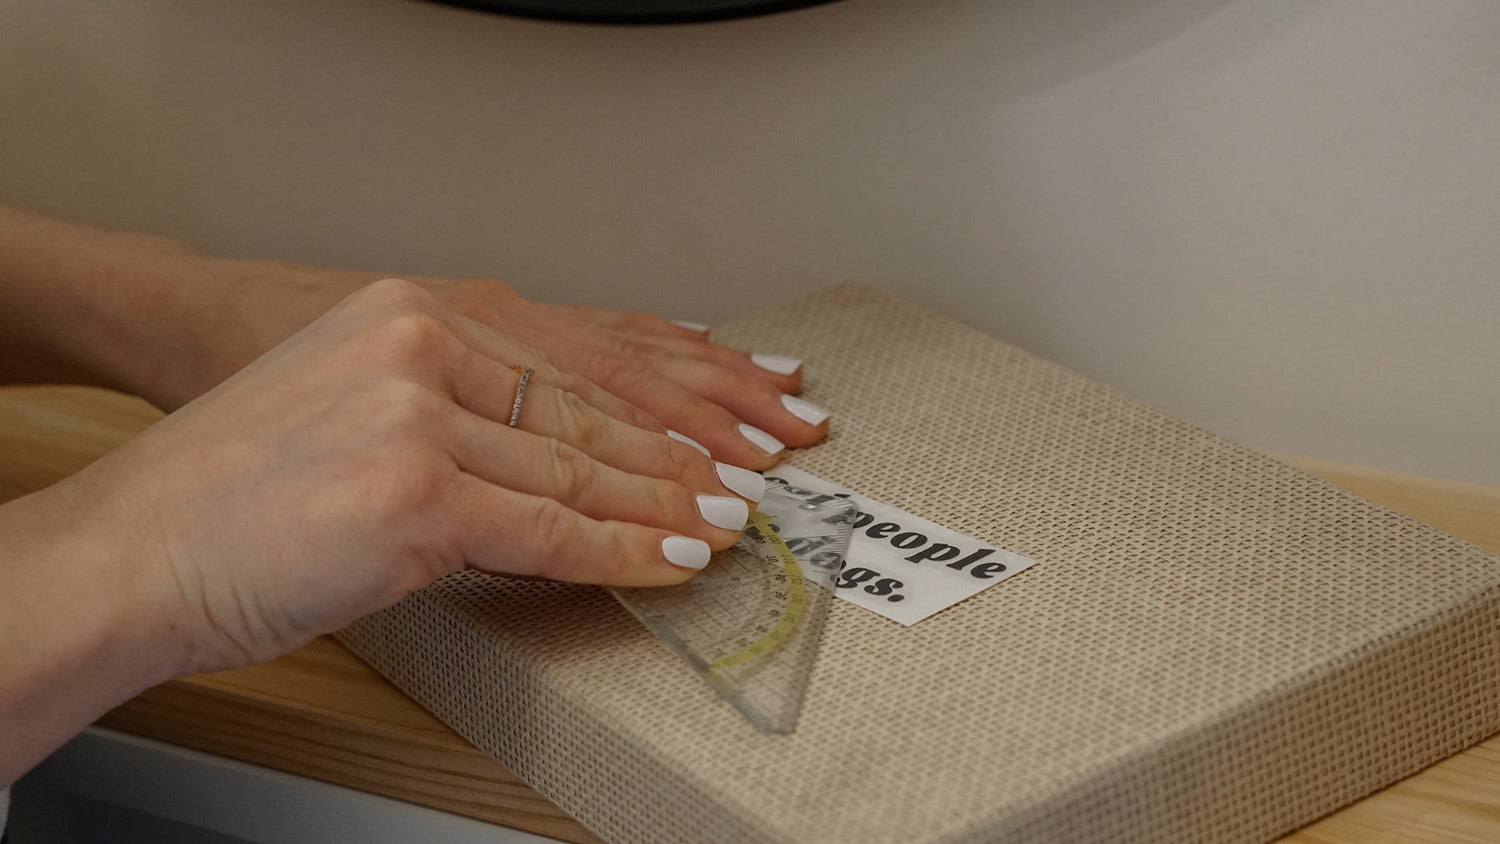
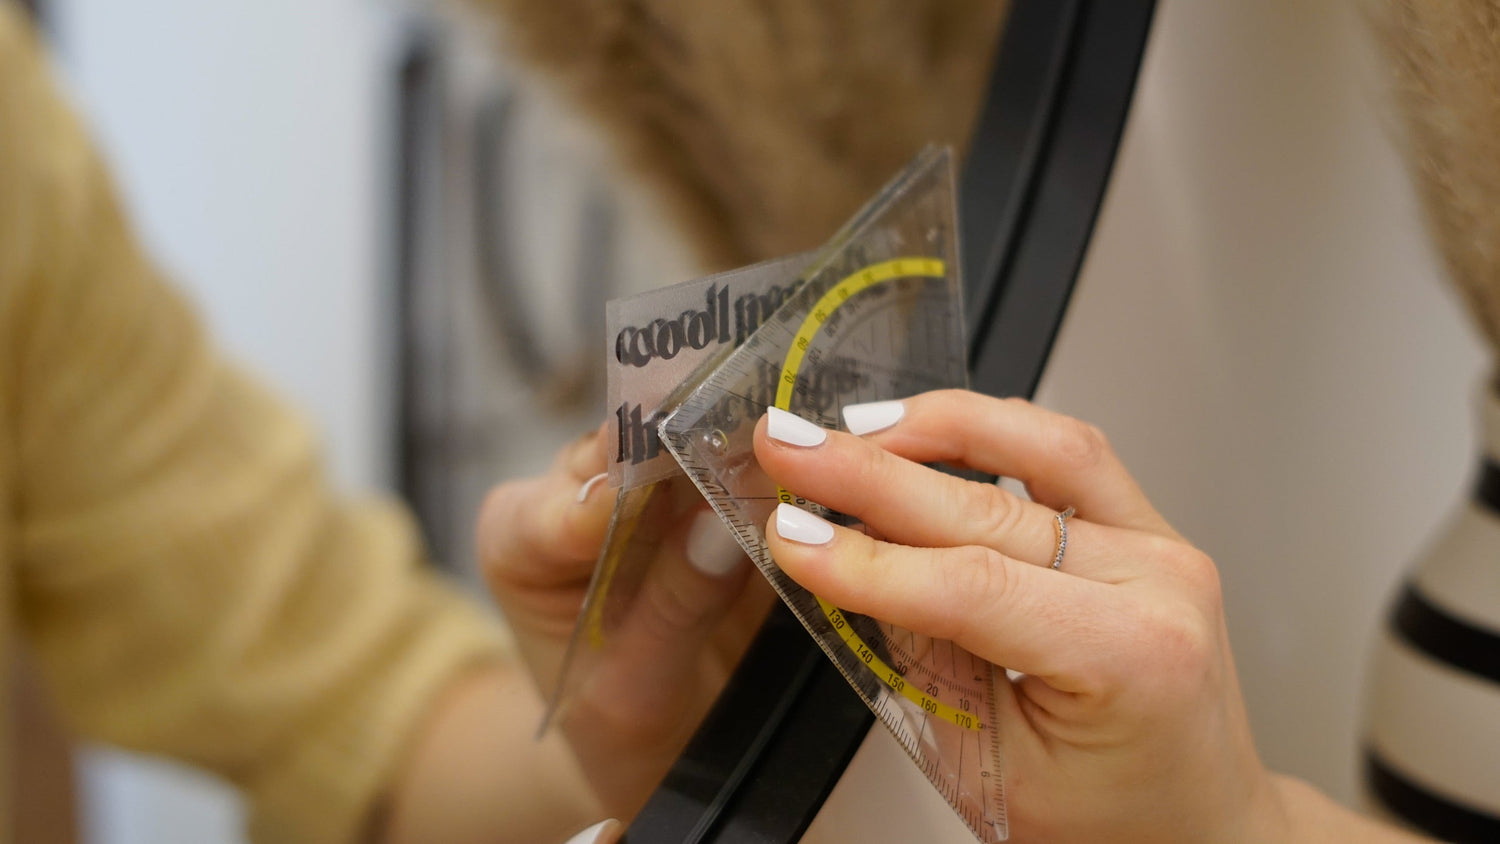
Preparation
Step 1
Now use a squeegee or alternatively an old plastic card from your wallet or ruler/set square to carefully smooth out your motif so that everything sticks to the adhesive, transparent film.
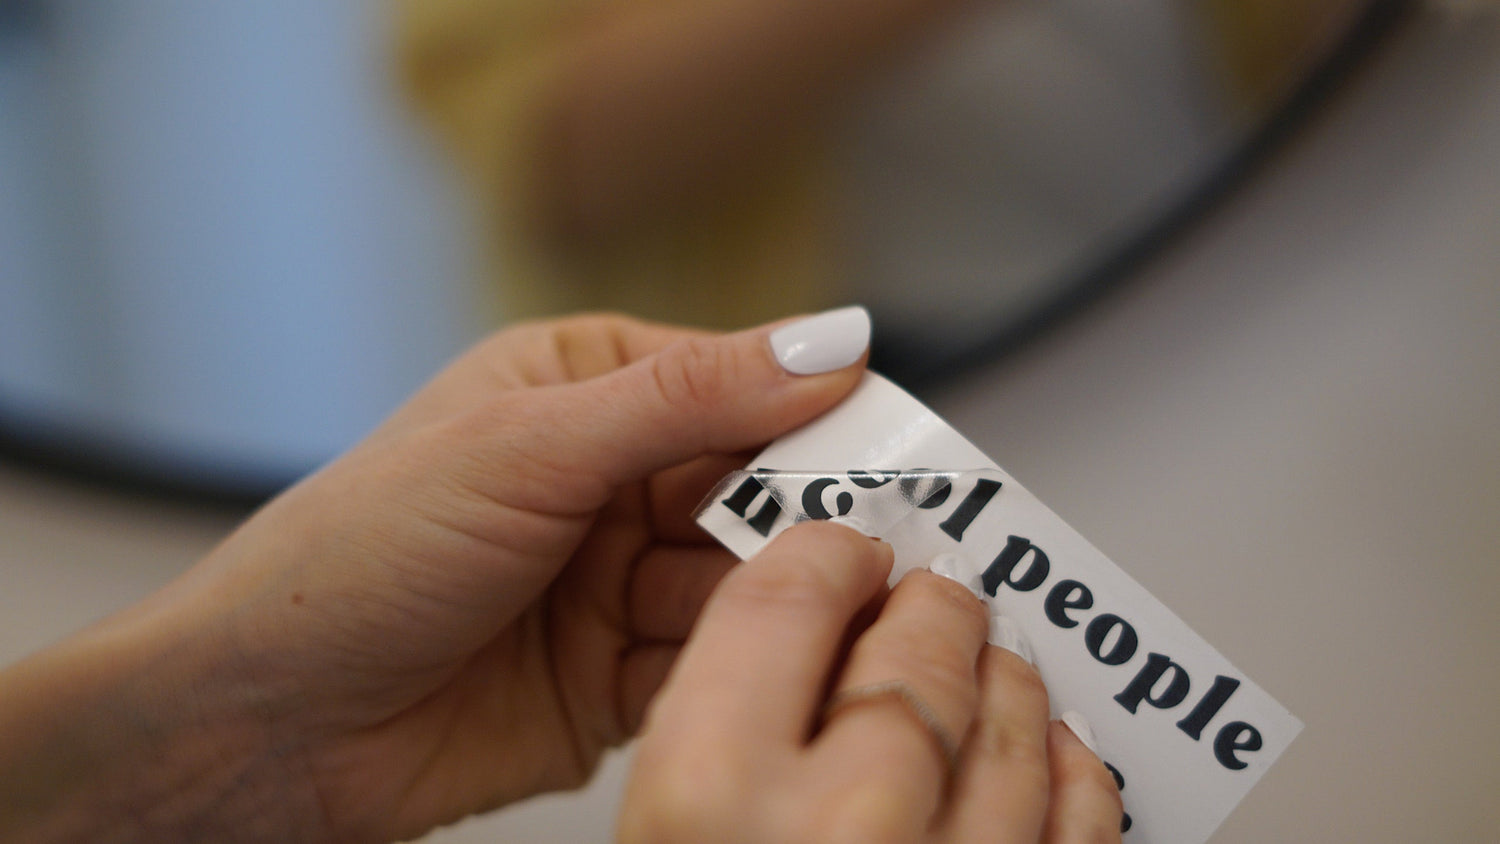
pull it off
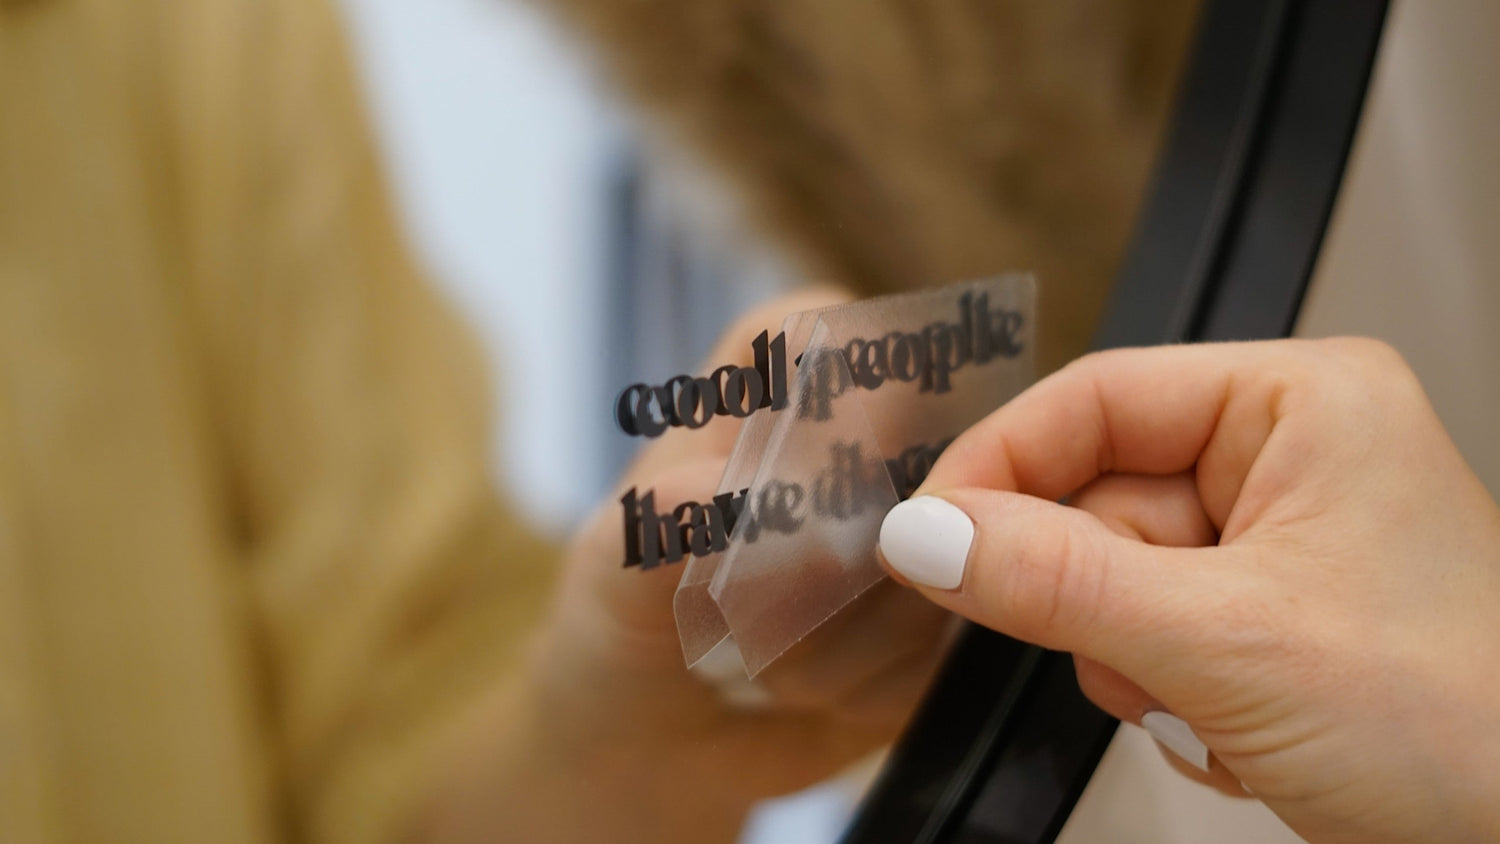
step 2
Next, carefully peel off the top film completely and stick your motif onto your object. If all the details are not yet stuck to the top film, go over it again with the squeegee
until the motif has been completely transferred.

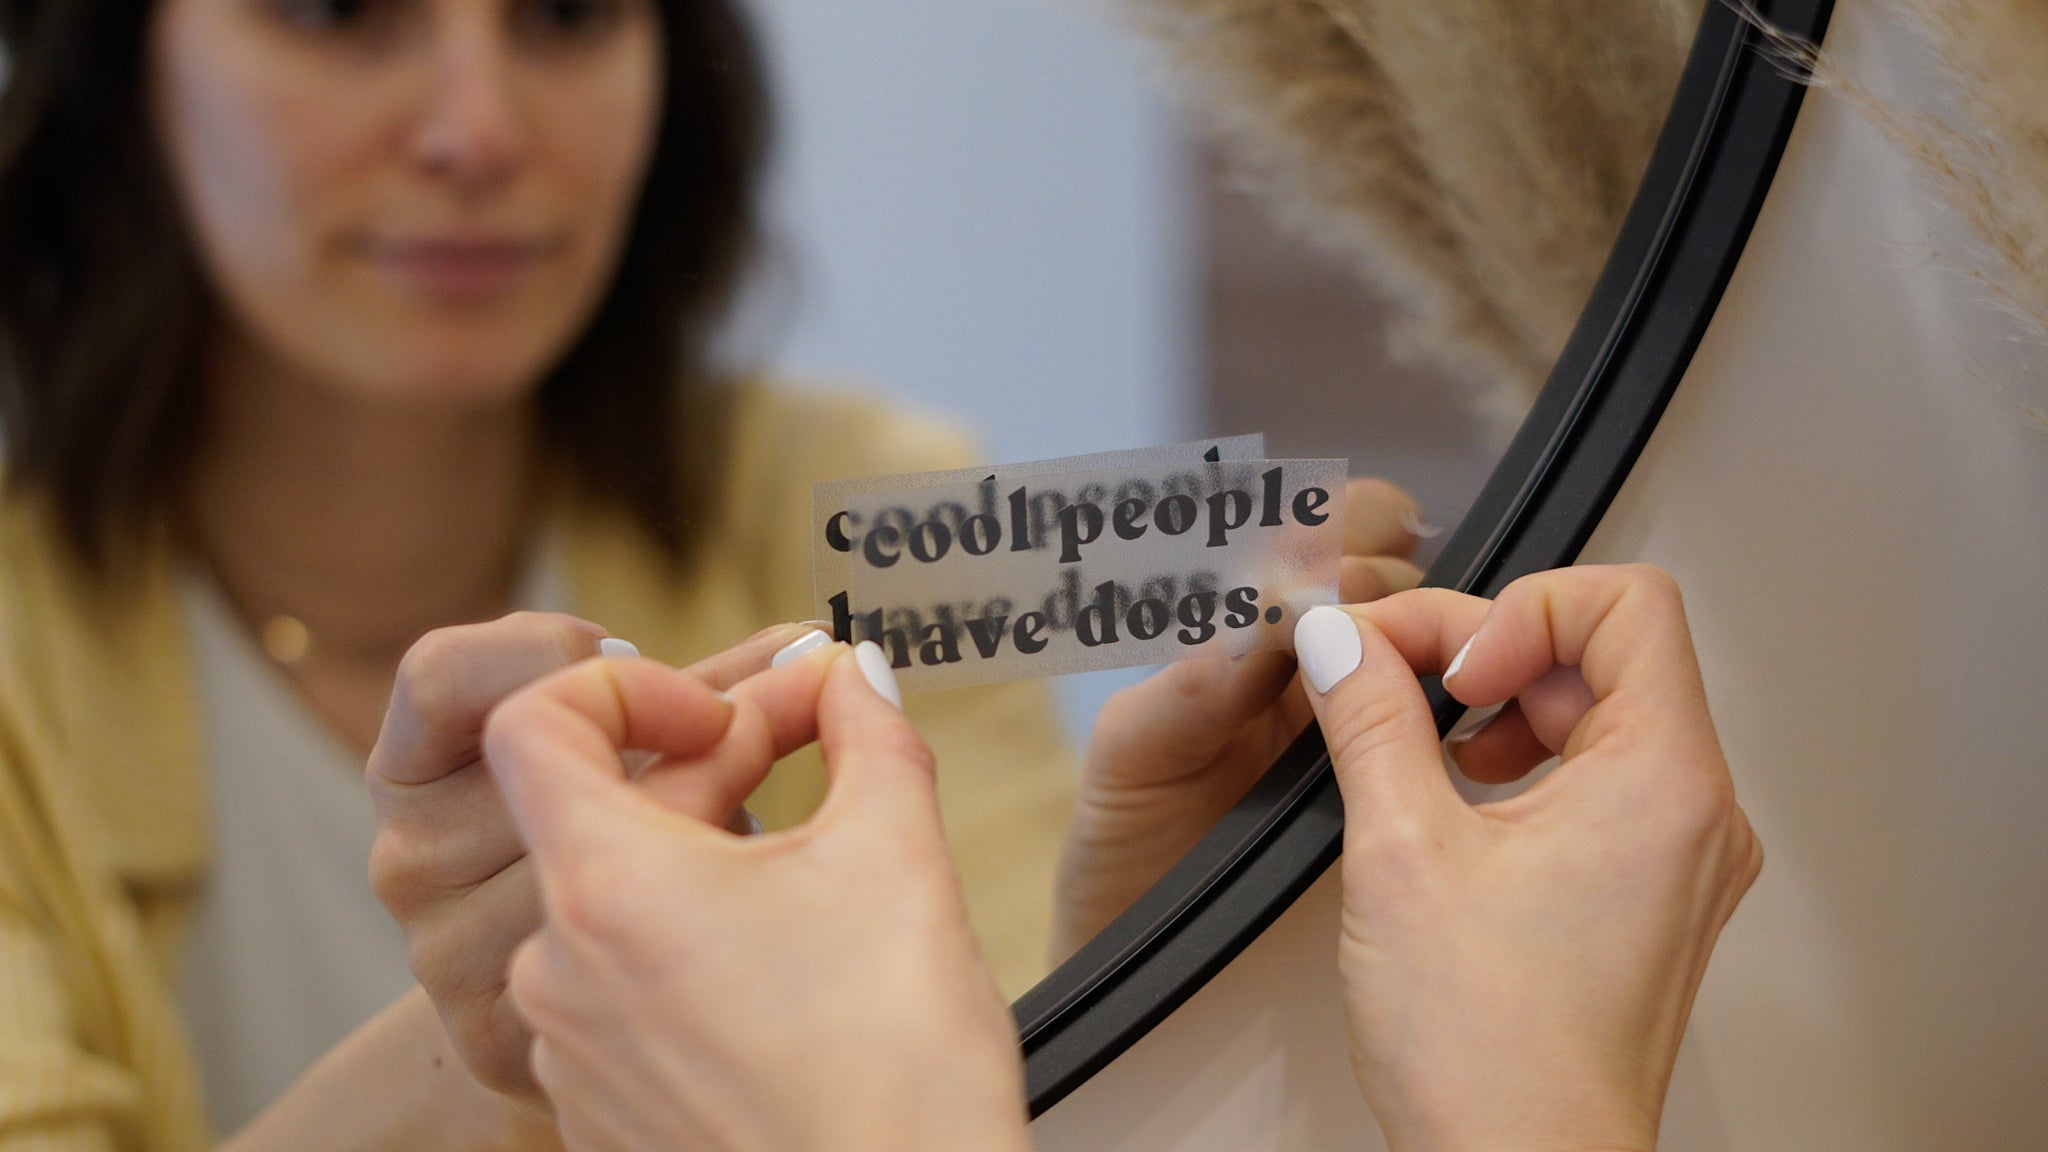
position
step 3
Next, position your image - alternatively, you can stick your motif on several times. To do this, cut the sticker into individual pieces and apply them one after the other.
Attention, you only have one attempt, as as soon as the motif comes into contact with the surface, the motif will detach from the carrier film!
stick on
Step 4
As soon as the film sticks, first press everything firmly into place with your fingers. Then take your squeegee and carefully stroke over the individual motifs.
Remove carrier film
Step 5
Now slowly peel off the adhesive film. If the motif is still stuck to the adhesive film somewhere, apply the film again and rub over it until everything sticks well to your object. Peel the film "backwards", not "upwards". So as flat as possible.
After you have completely removed the film, you can carefully press everything down firmly with your fingers.
Please do not use your squeegee here anymore!
