Attaching iron-on transfers

Step 1.
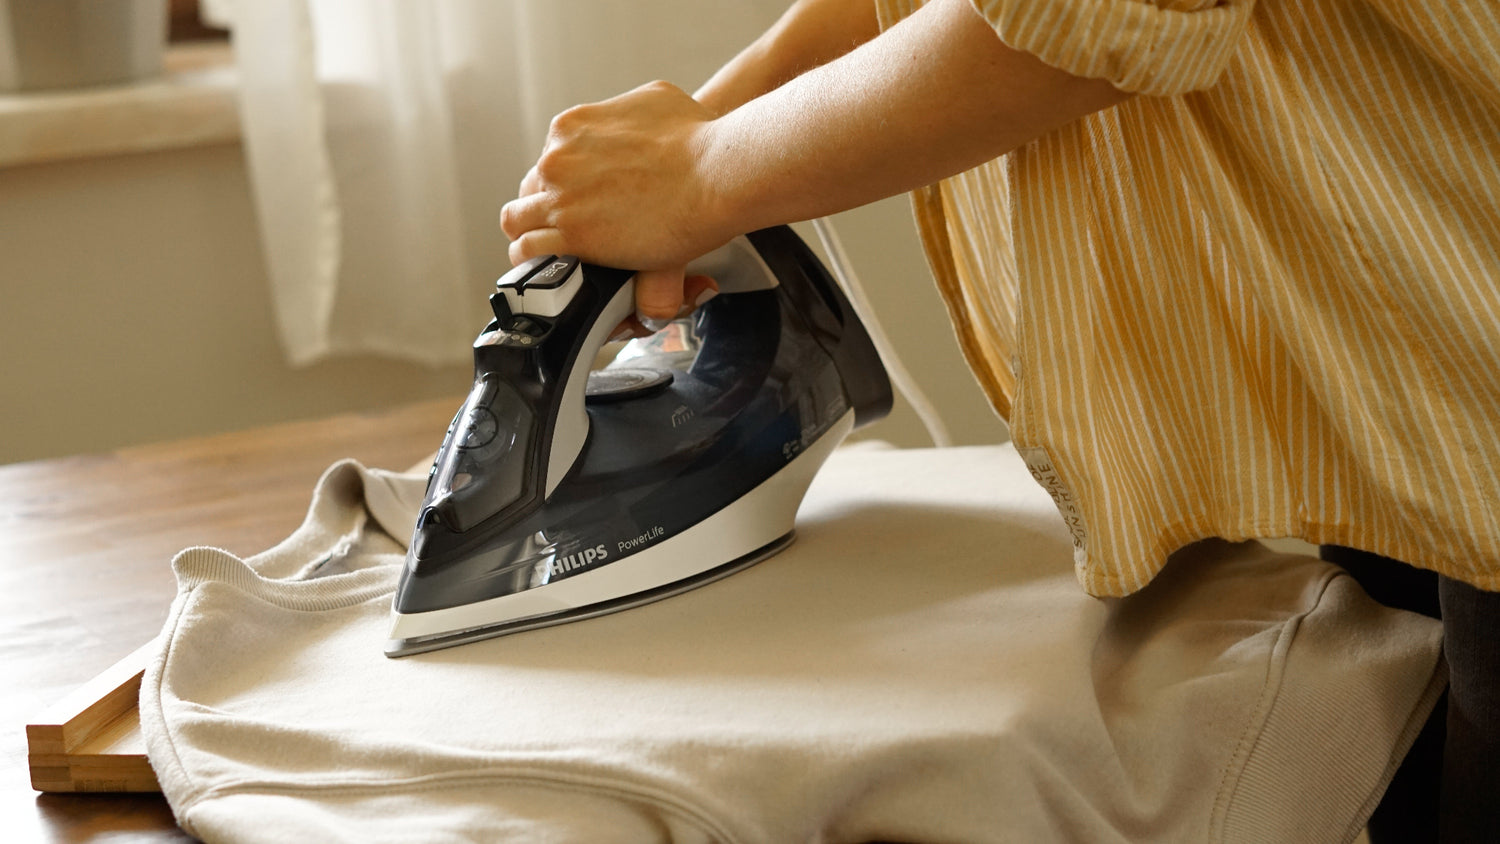
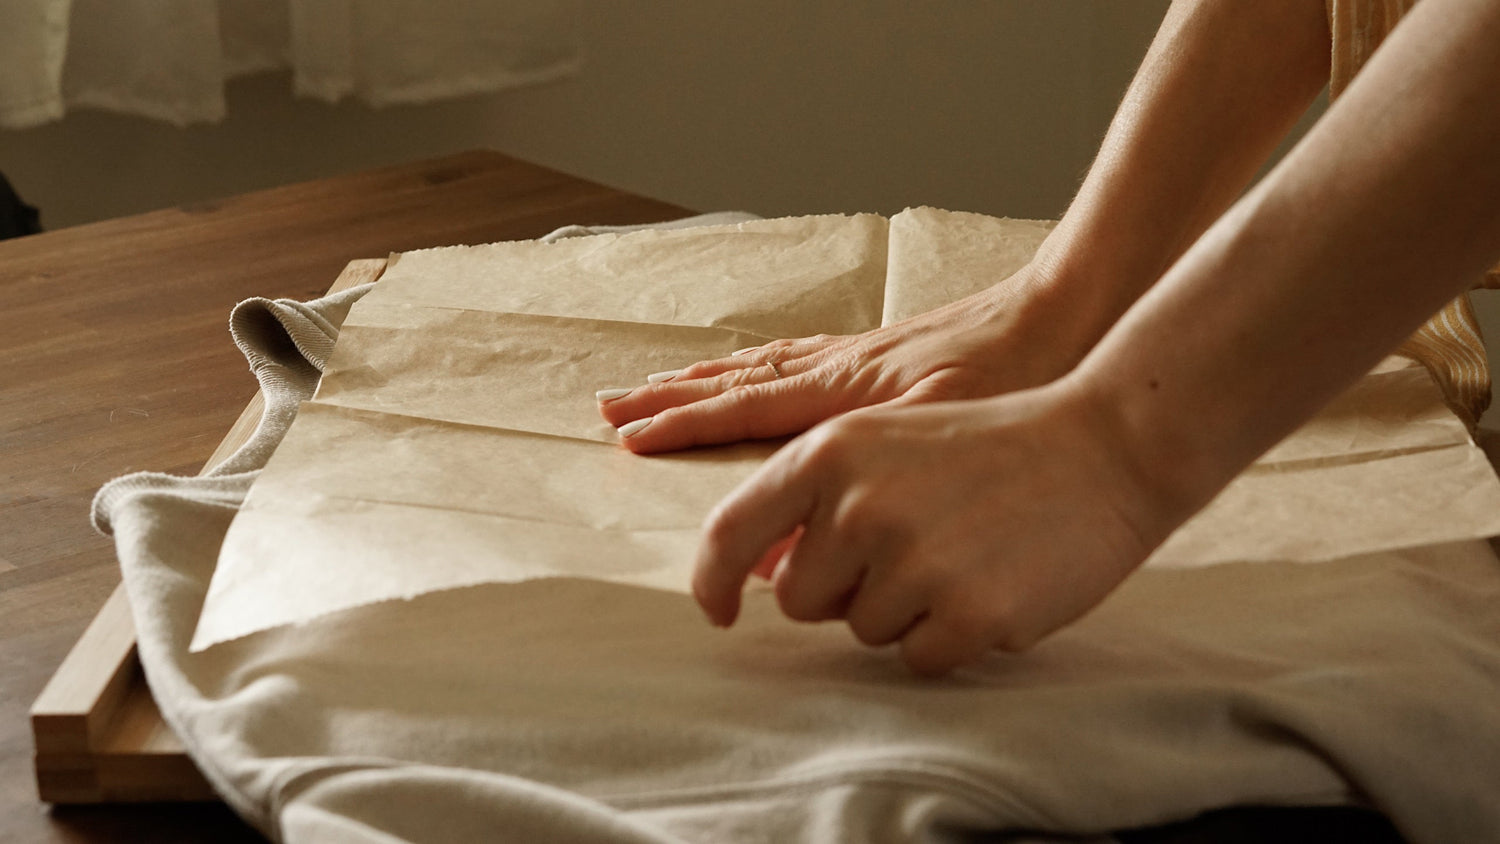
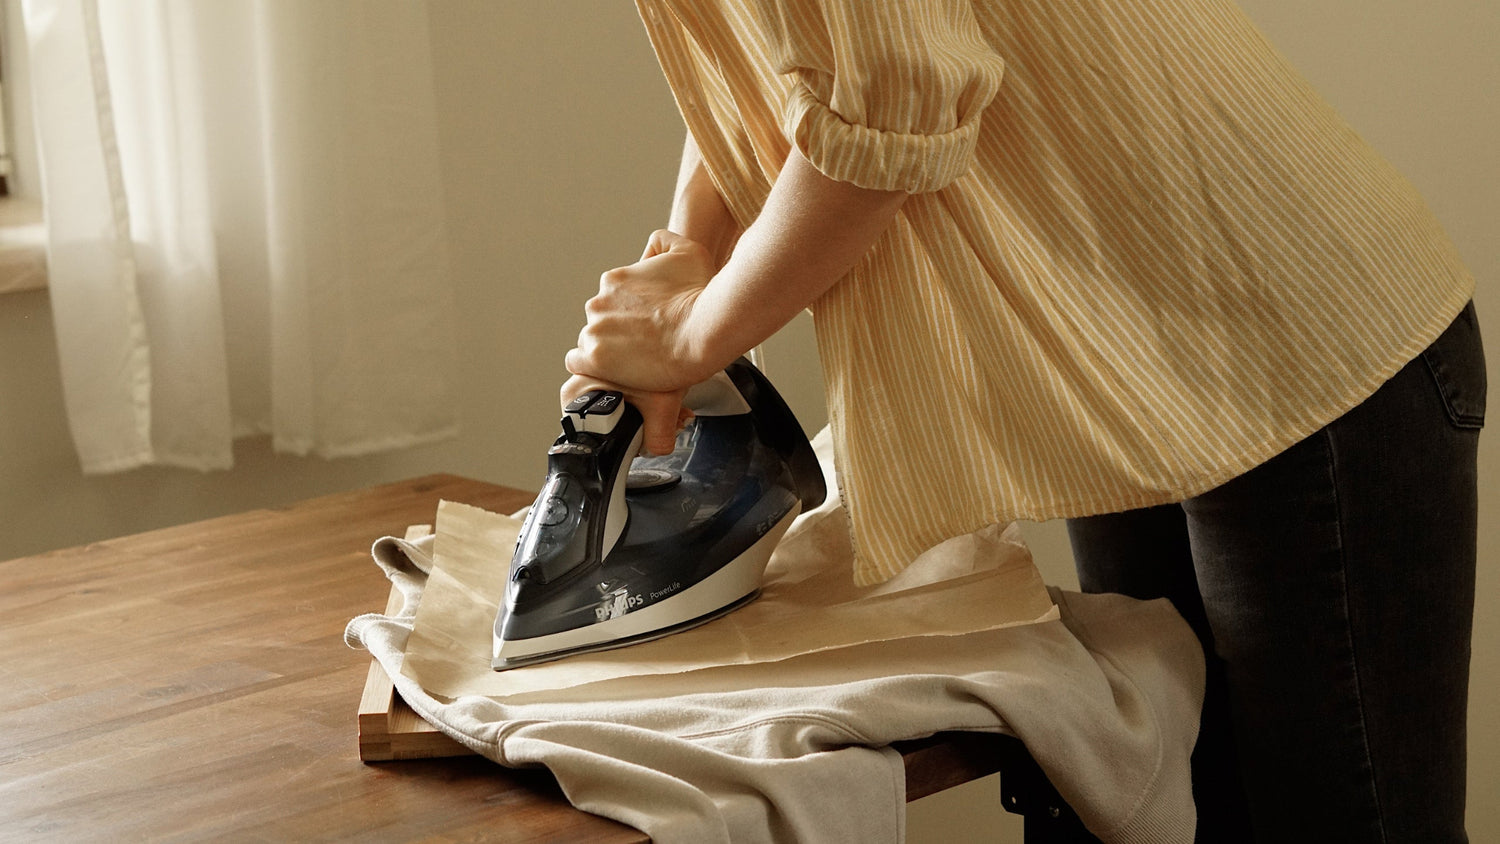
Pre-pressing
step 2
After the garment has dried, the area is pressed again with the iron to remove any finishes or residual moisture from the fabric. To do this, place your iron on the desired area for about 5 seconds.
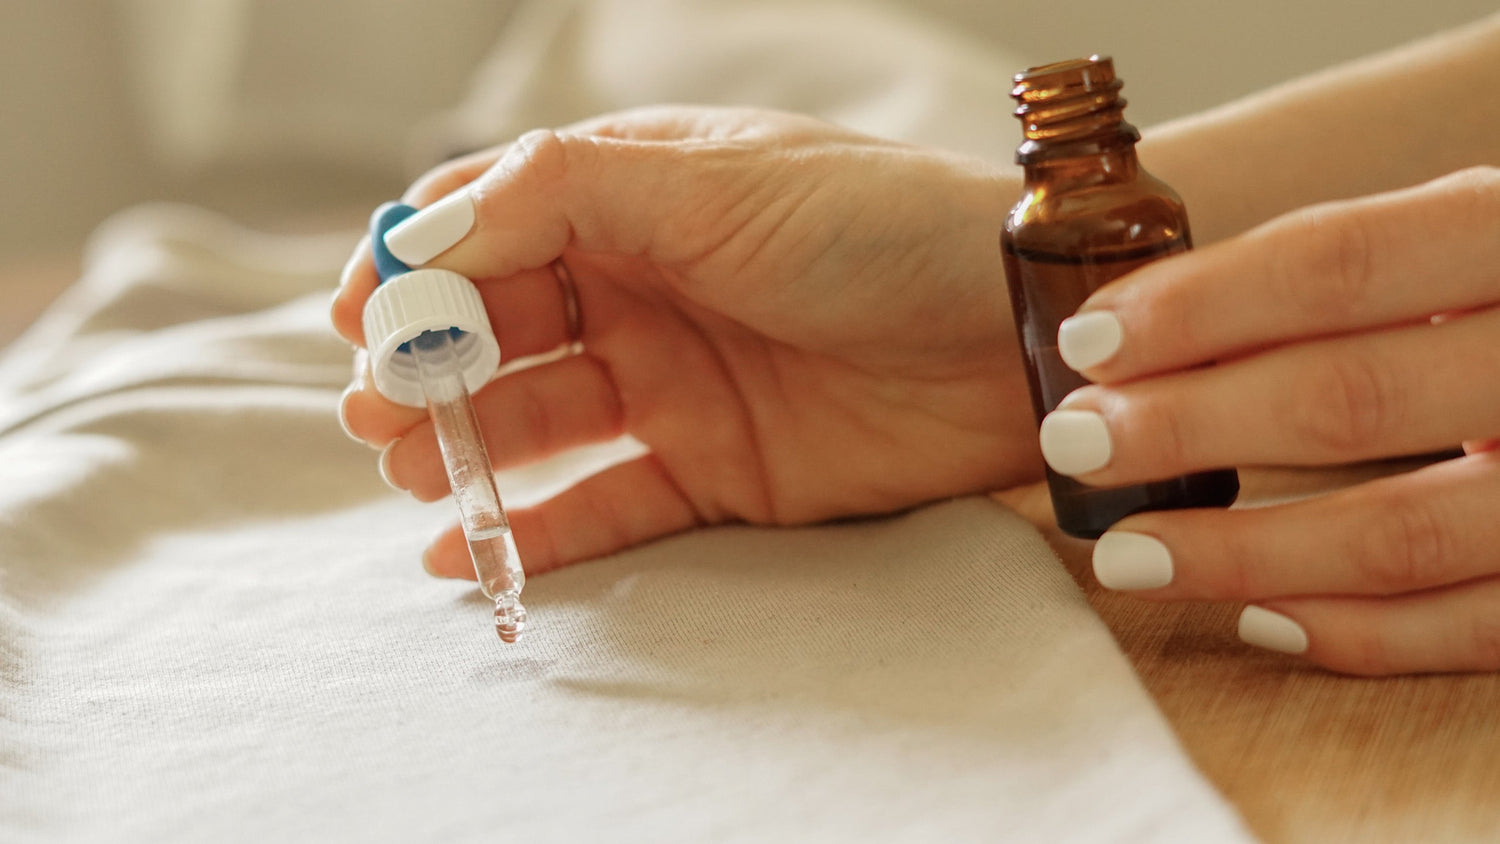
Water drop test
step 3
To check whether all impregnations have been completely removed during washing, put a few drops of water on your textile. This should be in a place that your iron-on image will not come into contact with afterwards, because we need a completely dry surface for this! If the water disappears from the textile, nothing stands in the way of your iron-on image. However, if the water remains on your textile, it cannot be guaranteed that the iron-on film will last on your garment.
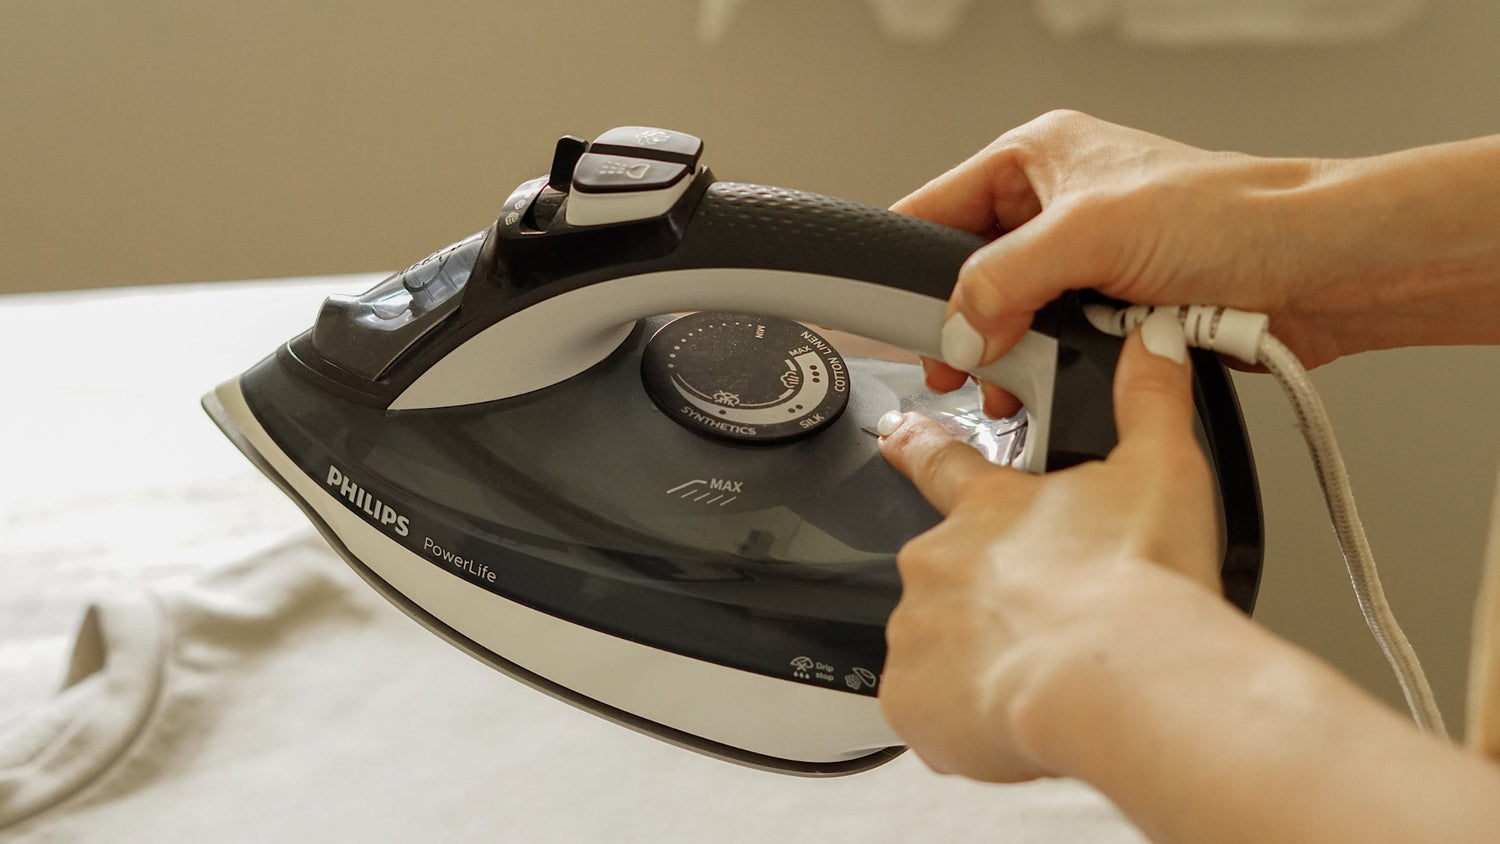
Preheat
Step 4
To do this, heat your iron to 150°C, which is usually level 2 to 3. If you iron on iron-on transfers often, it's best to always use the same iron. That way you'll know which setting has the right temperature!
It is very important to have a hard, heat-resistant surface, e.g. on a large chopping board. From personal experience, I recommend ironing your motif on a suitable surface on the floor rather than on a table, because here you can use your body weight to apply the desired pressure to make your iron-on image durable.
Place motif
Step 5
After your iron has heated up to 150°C, place your iron-on motif. To do this, peel off the transparent transport film from the bottom of your motif and place the motif with the adhesive side facing down on your textile.
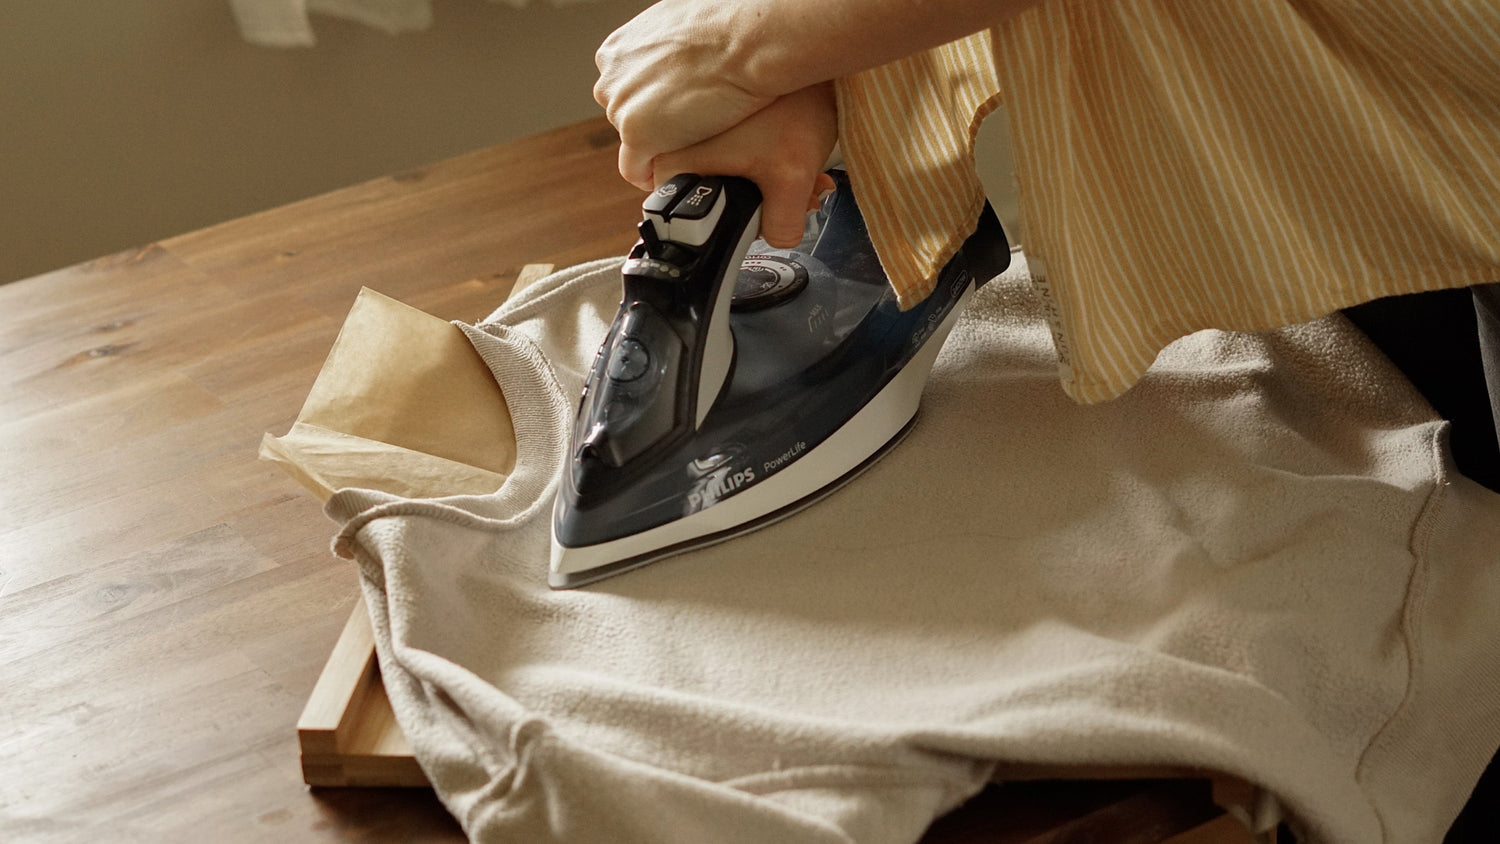
iron on
Step 6
Place regular baking paper over it as protection and place the iron on it (without moving it back and forth) for about 17 seconds.
Attention: DO NOT USE STEAM!

distribute heat correctly
Step 7
Do not use the tip of the iron, but the middle ! Since many irons do not have a completely even heat surface, the outer edges in particular are usually cooler. Therefore, place the iron a few times in offset positions so that you also cover the edges of the motif with the middle of the iron.
Make sure that you hit all areas with the iron so that the heat can be evenly distributed! Repeat this until you have heated the entire iron-on image evenly in all areas.
press with pressure
Step 8
Lifting off, re-positioning, etc. Increased pressure is particularly important, so lean your body weight on your iron.
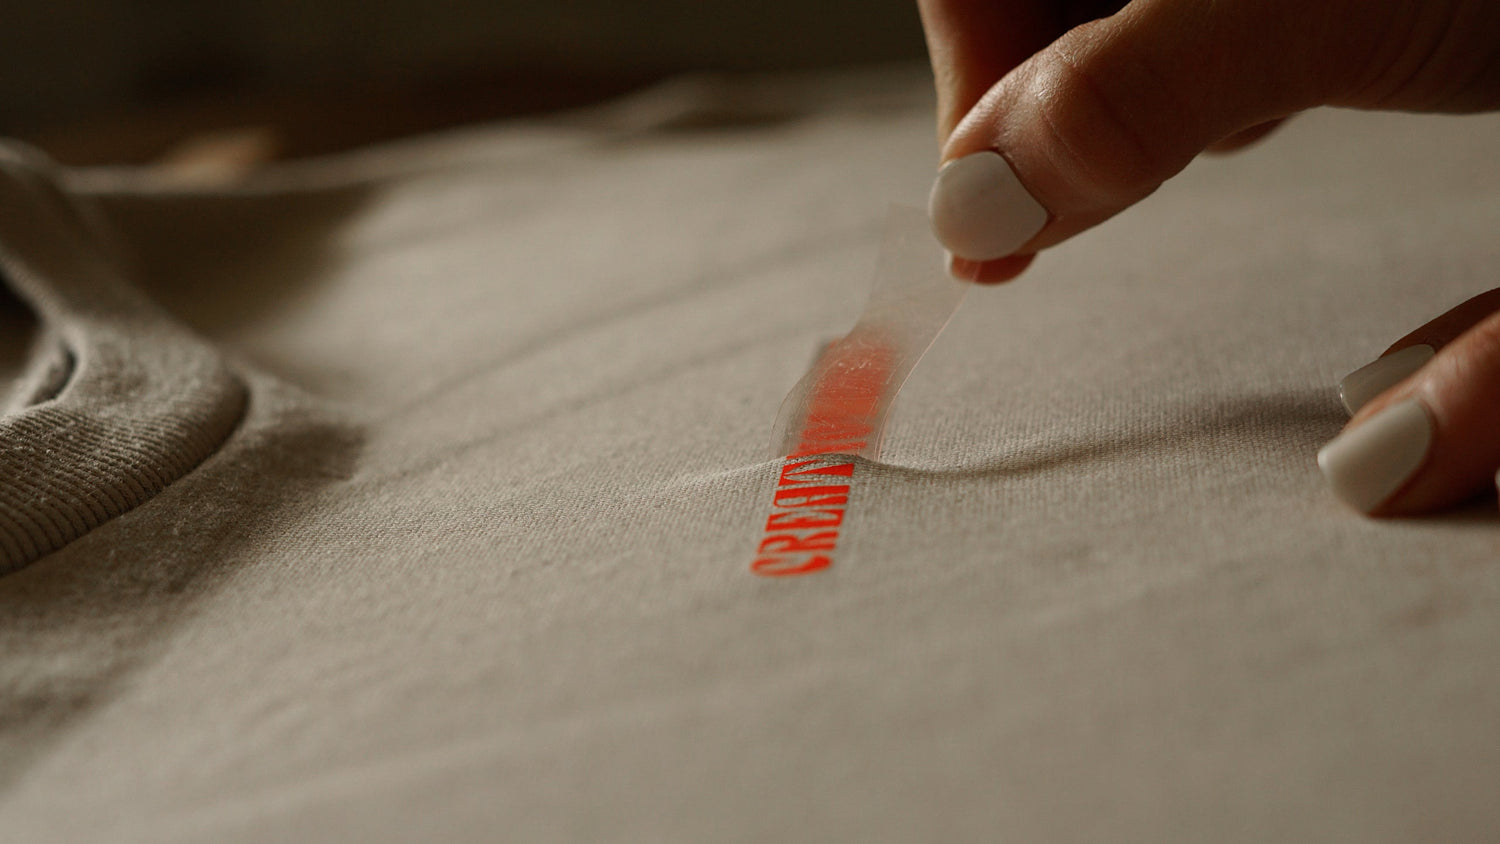
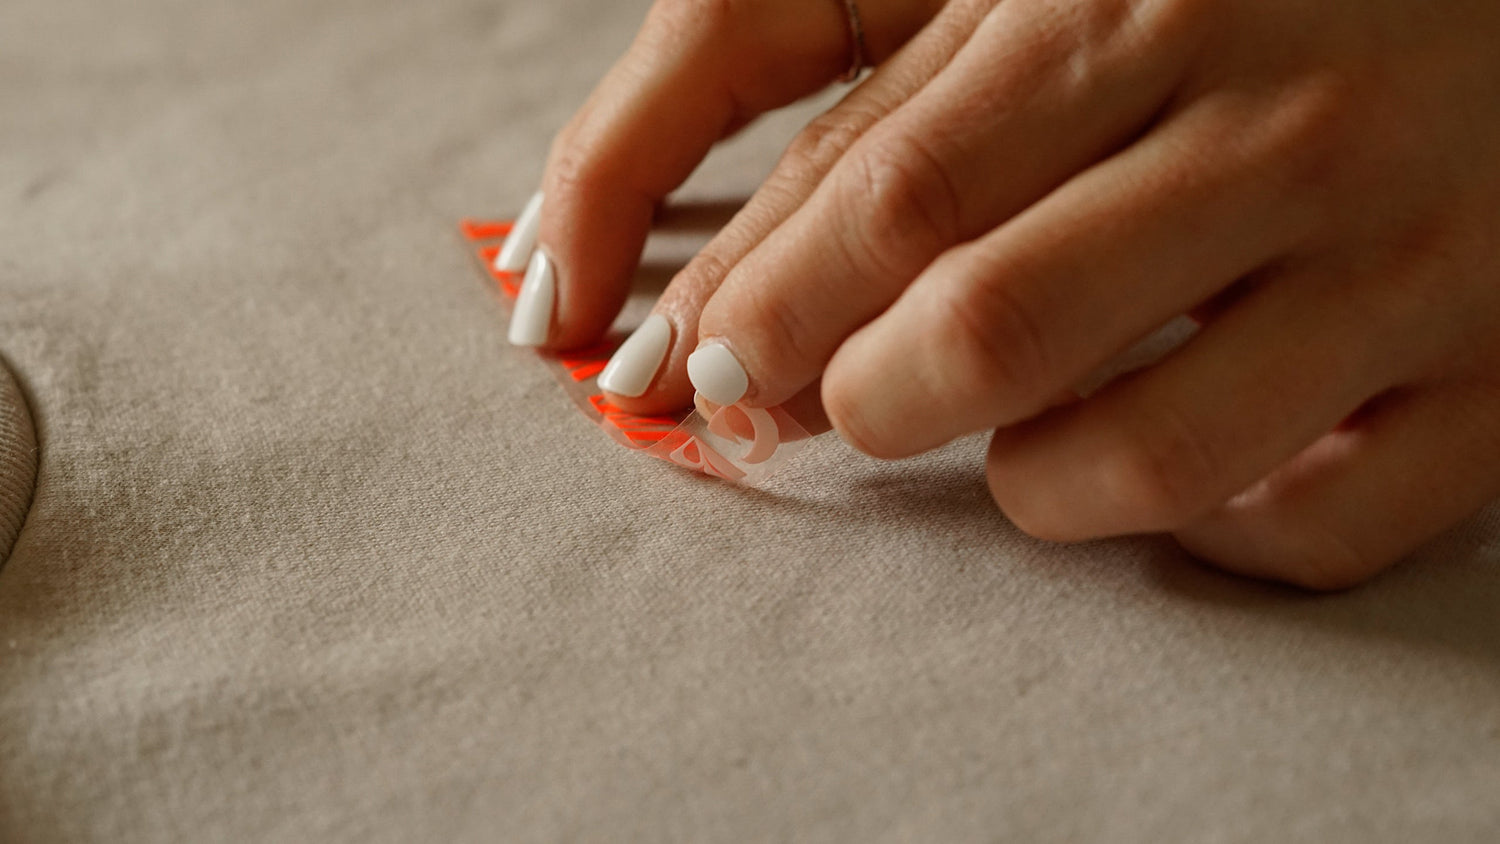
Remove carrier film
Step 9
Remove the baking paper and peel off the backing film while it is still warm. Be careful - it's hot!
If the carrier film does not come off easily, lay the film flat on your textile again and repeat the process as described above. Place baking paper on top and press it down again for about 10 seconds without moving it back and forth.
outside & inside repress
Step 10
After the carrier film has come off slightly, place the baking paper on top again and press for 5 seconds. Then turn your textile over to the wrong side (inside out), place the baking paper between them and press for another 5 seconds.

